

Tablets provide the best of both worlds, combining the longevity of smartphones and the professionalism of laptops. Among tablets, iPads are considered the best by far, mainly because of their excellent battery and performance. However, batteries are an electronic component and can get faulty, and knowing the right way to replace a battery in an iPad can become critical.
However, you have two options to replace the iPad battery. You can either contact a professional third-party Apple battery replacement service for your iPad or replace the battery on your own.
So, how to change the battery in an iPad professionally in both cases?
Which is Better: DIY or Professional iPad Battery Replacement?
Both DIY and professional iPad battery replacement have their pros and cons. However, it is always better to replace the iPad battery professionally. The common issues in professional battery replacement are limited to price and quality, which can be resolved if you hire a trustworthy professional repairer.
On the other hand, the issues in DIY replacement go much deeper. You can expect problems like screen cracks during disassembly and the risk of damaging the battery. Moreover, you can void the Apple warranty and experience he same issue or poor performance, if you end up with a non-OEM part.
So, how to change the battery in an iPad with the help of a professional?
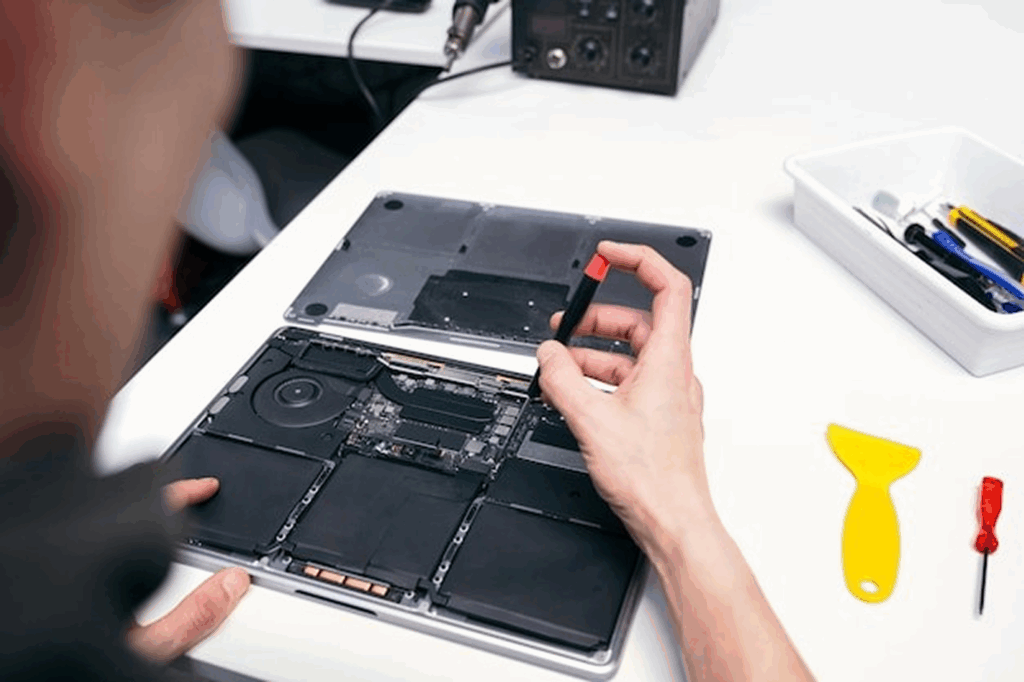
🔋 Need to replace your iPad battery?
At iGadget Repair, we make iPad battery replacements fast, affordable, and hassle-free.
Get a free quote today!
How to Change the Battery in an iPad?

The way a professional replaces an iPad’s battery is different from how you would replace it. Even for experienced repairers, iPads are more complex to repair compared to other tablets. They have a stronger adhesive and are built for performance, making their repairability score extremely low compared to other devices.
For such reasons, even the professional needs to handle them with extra care. Here’s how experience repairers replace iPad battery.
Power Off and Prepare Tools
While it might seem an insignificant step, it is the most important one. Replacing the battery without turning off the device means removing it while the iPad is running. This can cause significant dangers like short circuit, permanent fire damage, or data loss, none of which you want as the service consumer.
Preparing the tools is equally important. You don’t want the repairer to ask you to wait simply because the device is open, but the tools are unavailable. Professionals always ensure that the device is powered off and the tools are available, so they can replace the battery without interruptions.
Heat the Edges to Loosen Adhesive
Once turned off, the repairer heats the device enough that the adhesive is softened and the device isn’t damaged by the heat. Removing the screen without heating is dangerous because it can break the screen. Heating too much can result in component damage, so it needs a balance.
Professionals make sure they heat the device the right amount and try to remove the screen along with it.
Carefully Remove the Screen
Once the screen is heated enough, it is time to remove it from the device. This step needs extra care. If the repairer does not remove the screen with precaution, they might risk breaking the screen or causing internal damage.
With suction cups and plastic picks, the repairer lifts the display slowly to avoid cracking the glass or damaging the digitizer.
Disconnect the Battery and Screen Cables
While the repairer has overcome the most difficult part, precaution is still necessary. The battery and screen cables are delicate and can break easily. Once the device is open, the repairer carefully disconnects the battery and display connectors to prevent short circuits.
Remove the Old Battery
It’s not just the screen that’s glued to the iPad with a strong adhesive. The battery, just like the screen, is strongly stickered on the surface. Professionals use adhesive removers like alcohol or take advantage of the special pull tabs to carefully loosen the glue without bending or puncturing the battery.
This step requires patience because rushing can lead to a puncture, which further leads to fire.
Install the New Battery
Once the old battery is removed, an OEM battery is placed in its slot. The technician ensures it is properly aligned and securely connected to the logic board, which is Apple’s version of a motherboard. Using OEM batteries helps maintain original performance and prevents future issues like overheating or quick draining.
However, if the OEM battery is not available, the repairer uses the next best battery that can solve your issue. They ensure this by asking you whether the battery is good or not, so your phone works in the best way possible.
Reassemble and Test the Device
Finally, the screen cables are reconnected, the display is resealed with adhesive, and the iPad is powered on. The repairer tests the charging port, screen response, and overall performance to confirm the new battery is functioning correctly.
Further, a good repairer gives a warranty, so you don’t have to pay extra if you face the issue after a short time.
Conclusion
Learning how to replace iPad battery gives you a clear picture of how the process works. It also highlights why professional repair is necessary. While you can replace the battery, even after proper research, it can result in serious consequences, like battery puncturing or breaking the logic board. While DIY battery replacement may seem cost-effective, the risks of damaging your screen, voiding your warranty, or installing a poor-quality part outweigh the benefits.
Therefore, always opt for a professional repair service over DIYing the repair. A professional iPad repair service ensures safe handling, OEM-quality parts, and reliable results that restore your device’s performance.
Therefore, always choose a professional Apple battery replacement service, and make your iPad great again.
How much does it cost to replace an iPad battery?
You can expect to pay approximately $99 to $129 for a standard iPad battery replacement through Apple. For iPad Pro or newer models, the price may increase to $179 or higher. Third-party shops typically offer more varied pricing, from $69 to $500, depending on the device complexity and parts quality.
Can I replace the iPad battery myself?
While you can, it is not recommended.iPads are sealed with strong adhesive, making DIY risky. You could damage the screen, logic board, or void your Apple warranty.
How long does a professional iPad battery replacement take?
It depends on the problem. If the battery looks fine and the only issue is fast drainage or malfunction, it hardly takes half an hour. But if the battery is physically damaged and the repairer risks causing fire from puncturing, it can take two to three hours. The availability of the battery can also impact the time.
Does a new iPad battery improve performance?
Yes, it does. Replacing an old iPad battery with a new one can massively improve the performance. Older batteries cannot handle the intense system requirements properly, and as a result, they drain faster. Newer batteries, however, are optimized for higher performance and hence improve it.
